


The airport 'tourist SIM' is priced for panic
Kiosk SIMs cost two to five times more, require passport registration, and have long queues. The network is the same as an eSIM's.
Arrive at HND or NRT with data, cash, and a booked transfer, and avoid the SIM queue, the wrong rail pass, and the taxi rank.
By the PreTripHub editorial team · Last updated November 16, 2026
Visa-free stays up to 90 days for most US, UK, EU, Canadian, and Australian passports. Pre-register arrival QR codes in Visit Japan Web before boarding.
Visit Japan Web now issues one combined QR code for immigration and customs.
Entry rules change without notice. Confirm with your airline and official sources.
You clear immigration at Haneda, collect the bag, and walk into the arrivals hall. Then three things hit at once: roaming charges, a long SIM kiosk queue, and a taxi rank sign you can't read.
The fix is boring and takes eleven minutes at home. Install a Japan eSIM, screenshot your arrival QR codes, load a digital transit card, and pre-book one fixed-price transfer. Then landing is just landing.
| Decision | Skip | Buy | Why |
|---|---|---|---|
| Mobile data | Airport tourist SIM kiosk | eSIM installed before departure | Same networks, no queue, $4.50 instead of $25 to $45 |
| Airport transfer | Metered taxi rank or unmarked “limousine” touts | Fixed-price transfer or airport limousine bus ticket | Removes the negotiation and the surcharge |
| Rail | Nationwide JR Pass bought “just in case” | Point-to-point tickets or a regional pass | A nationwide pass only wins on multiple long legs |
| Cash | Currency exchange counters at arrival | 7-Bank or Japan Post ATM withdrawal | Better rate, and you only withdraw what you need |
| Transit card | Paper tickets for every ride | Digital Suica or Pasmo in your wallet | One tap for trains, buses, and convenience stores |
| Insurance | Buying at the airport counter | Annual or trip policy purchased at home | Cheaper, and active before the flight, not after |
The data row is the one that compounds. Without working data you can't price a transfer, check a train platform, or find the right exit, so every other decision gets worse.
| Feature | Recommended PreTripHub / Esimmint eSIM |
Walk-up Airport SIM Kiosk |
Rental Pocket WiFi |
|---|---|---|---|
| Setup time | Under 2 minutes, installed before you fly | 20–45 min queue at the airport counter | 10–20 min pickup plus a deposit hold |
| Cost (USD) | $4.50 – $16.00 one-time | $25.00 – $45.00 one-time | $8.00 per day + $25.00 deposit |
| Speed | 4G/5G on local networks, full speed | 4G, throttled hard after the data cap | 4G, split across every connected device |
| Convenience | No pickup, no return, home number stays active | Swap SIM cards and lose your home number | Carry, charge, and return the device |
Klook lists nationwide and regional rail passes in USD, with seat reservation guidance and e-ticket delivery.
Pro tip: Buy the nationwide pass only with at least two long shinkansen legs in seven days.
Monthly travel medical insurance in USD, covering emergency treatment and evacuation.
Pro tip: Check the deductible and winter sports coverage, which usually needs an add-on.
Kiosk SIMs cost two to five times more, require passport registration, and have long queues. The network is the same as an eSIM's.
Small ramen counters, shrines, and some Kyoto buses take only cash. Use 7-Bank or Japan Post ATMs, decline conversion offers, and keep about $100 in cash. Some ATMs close at night.
The nationwide JR Pass suits multi-city shinkansen trips but is poor value for Tokyo-only trips. Seat reservations are still required, and oversized luggage needs a reserved seat.
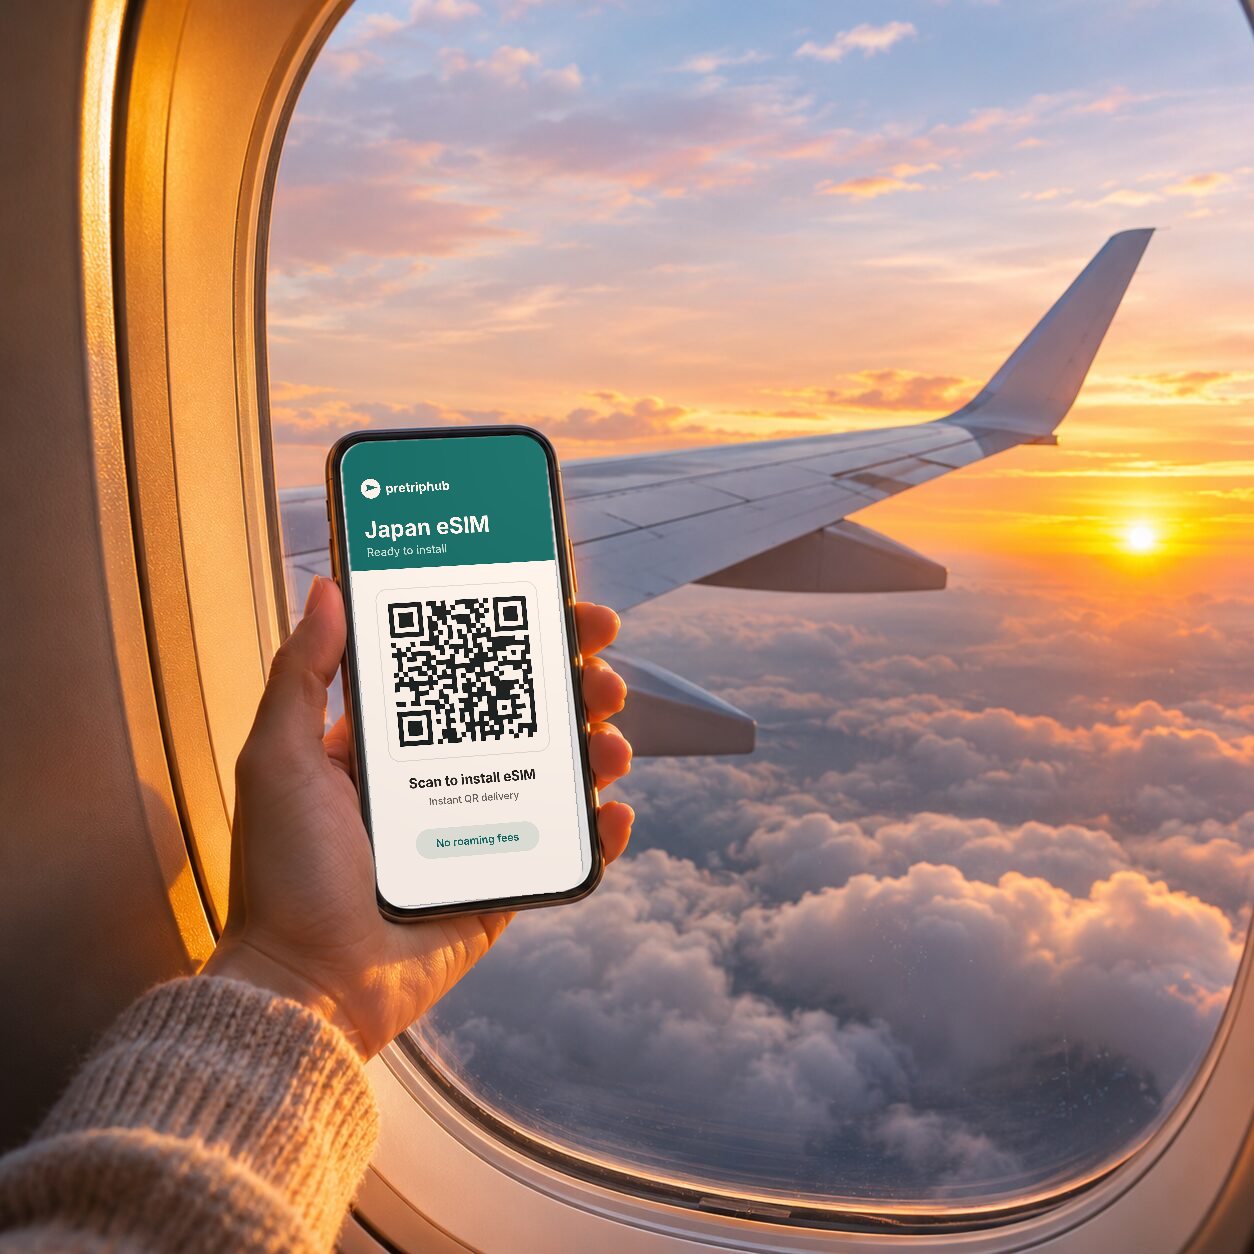
A Japan eSIM starts at $4.50, installs before you fly, and activates on landing. Airport kiosks cost $25 to $45 and involve queues.
Only for specific itineraries. Map your long-distance legs and compare the totals with the pass price.
About $100 to $150 in yen for the first 24 hours, since many small venues are cash-only.
Yes, if your phone supports wallet transit cards. You can top up with foreign cards.
It is the official pre-registration site for immigration and customs. It is not a visa and does not replace your passport.
It is not required for most short-term visitors, but medical costs are high and some hospitals ask for upfront payment.
Install the eSIM at home, screenshot arrival codes, load a transit card, carry about $100 in yen, and pre-book one transfer. Skip the SIM kiosk and taxi negotiation, and buy a rail pass only after pricing your long legs.
Join the list on the homepage to hear first.